This guide will walk you through the necessary steps to properly prepare your walls for painting, ensuring a flawless finish. You will learn how to clean, repair, and prime your walls, creating a surface that will allow paint to adhere effectively and look its best. Whether you’re tackling a small room or a whole house, these preparation techniques will help you achieve professional-quality results, making your painting project a success.
Understanding the Importance of Wall Preparation
Your paint job can only be as good as the surface it’s applied to. Proper wall preparation is crucial in achieving a flawless, long-lasting finish that enhances the beauty of your home. At Gilbert Painting & Construction, we recognize that taking the time to prepare your walls not only ensures outstanding results but also extends the life of your paint job, providing you with a wonderful aesthetic that stands the test of time.
Why Proper Wall Prep Matters
Now, you may wonder why investing time in wall prep is crucial. Proper preparation creates a smooth, clean surface for paint to adhere to, which ultimately leads to better coverage, vibrant colors, and a professional-looking finish. By ensuring your walls are adequately prepared, you set the stage for an impressive transformation in your home.
Common Issues from Poor Preparation
For many homeowners, skimping on wall preparation can lead to a cascade of problems. Insufficiently cleaned surfaces can cause paint to peel, bubble, or even fade prematurely. Without addressing cracks and holes, the imperfections can show through the final coat, ruining the overall appearance.
Preparation is key to avoiding these common issues. When walls aren’t cleaned properly, dust and grease disrupt paint adhesion, leading to subpar results. Unfilled holes and cracks can create an uneven texture that’s visually unappealing. Additionally, neglecting to sand the surface may result in an uneven finish, especially when painting over glossy finishes or dark colors. Investing time in thorough wall preparation not only enhances the outcome but also provides long-term benefits that keep your home looking beautiful. Trust the experts at Gilbert Painting & Construction to guide you through this crucial process!
Tools and Materials Needed
Any successful painting project begins with the right tools and materials. Having everything on hand before you start will streamline the prep process, ensuring you don’t miss any critical steps in achieving that flawless finish.
Essential Tools for Wall Prep
While preparing your walls, important tools include a cleaning sponge, putty knife, sanding block or paper, and a roller or brush for primer application. Additionally, a drop cloth is crucial for protecting your floors and furniture. By gathering these tools beforehand, you’ll be ready to tackle any wall preparation with confidence.
Recommended Paints and Primers
An effective paint job starts with the right type of paint and primer. Opt for high-quality paints that suit your specific project needs. For instance, if you’re covering a dark color or fresh patches, using a good primer is key to ensuring proper adhesion and a uniform finish.
With many types of paints and primers available, consider using a water-based primer for easy cleanup and a smooth finish. Look for paints labeled as “one-coat” if time-saving is a priority, but never compromise on quality. A professional-grade paint will provide durability and enhance the overall appearance of your walls, giving you the stunning results you desire.
Safety Gear and Precautions
Precautions are vital when preparing for a painting project. Always wear safety goggles, gloves, and a mask to protect your eyes, skin, and lungs from dust and paint fumes. Proper ventilation is also important, especially in enclosed spaces.
Paints contain various chemicals that can be harmful if inhaled or absorbed by the skin. Remember to read labels carefully and ensure your workspace is well-ventilated. A little attention to safety will not only keep you protected but also enable you to focus fully on your painting project without worry.
Step-by-Step Guide to Cleaning Walls
Keep your painting project on track by thoroughly cleaning your walls. This necessary step ensures the paint adheres properly and achieves a flawless finish. Below is a step-by-step guide to help you effectively clean your walls:
| Step | Description |
|---|---|
| 1. Gather Supplies | Collect mild detergent, water, sponges, cloths, and a bucket for your cleaning solution. |
| 2. Dust and Debris Removal | Use a dry cloth or vacuum attachment to remove dust and cobwebs from the walls. |
| 3. Prepare Cleaning Solution | Mix a mild detergent with water in a bucket to create a cleaning solution. |
| 4. Scrub the Walls | Use a sponge or cloth to scrub the walls with the cleaning solution, focusing on dirty areas. |
| 5. Rinse Thoroughly | Use a clean cloth and water to rinse any detergent residue from the walls. |
| 6. Dry Completely | Allow the walls to dry completely before proceeding to the next steps in your painting preparation. |
Dust and Debris Removal Techniques
The first step in cleaning your walls is to remove dust and debris thoroughly. Use a dry, soft cloth or a vacuum cleaner equipped with a brush attachment to eliminate cobwebs and dust. Pay special attention to corners and edges where debris tends to accumulate. This will create a clean foundation for your subsequent cleaning steps.
Dealing with Grease and Stains
With your walls cleared of dust, it’s time to tackle any grease or stains. High-traffic areas, such as kitchens and bathrooms, often harbor grime that can affect paint adhesion. Concentrate on spots with visible stains, as leaving these untouched can lead to a faulty finish.
With a mixture of your detergent solution, get a sponge or soft cloth and gently scrub the stained areas in circular motions. For tougher grease stains, allow the solution to sit for a moment to break down the residue before wiping it away. Remember to check that all cleaning agents have been rinsed off, as any remaining soap can prevent the paint from adhering properly.
Rinsing and Drying the Walls
While cleaning is necessary, rinsing the walls thoroughly is equally important. You should always follow up your scrubbing with rinsing. Use a separate clean cloth dampened with water to wipe away any soap residue left on the walls from your cleaning solution.
Another key point is to ensure that your walls are completely dry before moving on to the next steps. You can speed up the drying process by using a fan or opening windows for ventilation. This step is crucial—wet surfaces can lead to poor paint adhesion and may compromise the longevity of your paint job.
Inspecting and Repairing Wall Damage
Now that your walls are clean, it’s time to inspect for any damage that could impact your paint job. Thoroughly examining your walls allows you to identify imperfections that need attention before you begin painting. Look for holes, cracks, dents, and noticeable wear, particularly in high-traffic areas such as kitchens and bathrooms. Addressing these issues is crucial for achieving a flawless finish that will last.
Identifying Common Wall Imperfections
The most common wall imperfections include small holes from nails or screws, cracks, dents, and uneven patches. Depending on the wall’s age and usage, you may also encounter peeling paint or water damage. Identifying these issues early ensures they are properly addressed before you apply a new coat of paint.
Filling Holes and Cracks
Assuming you’ve identified any holes and cracks in your walls, it’s crucial to fill them with a high-quality spackling compound. This will provide a smooth surface for painting, ensuring the paint adheres well and the finish looks flawless.
With proper techniques, filling holes and cracks is straightforward. Use a putty knife to apply spackling compound, ensuring it fills the imperfection completely. For larger areas, consider using a joint compound, which can be spread more thickly. Once you’ve applied the compound, allow it to dry fully before moving forward with sanding.
Sanding and Smoothing the Surface
Sanding is a critical step in the preparation process. Once your repairs are dry, lightly sand the entire wall surface to achieve an even texture. This is particularly important if your walls had a previous glossy finish or if you’re painting over dark colors.
Identifying areas that require additional attention is key when sanding. After filling and drying, run your hand over the wall to feel for any unevenness. Use fine-grit sandpaper to smooth out the entire surface, ensuring all imperfections blend seamlessly. Make sure to wipe away dust with a damp cloth afterward to promote optimal paint adhesion.
Preparing for Painting
Not preparing your walls properly can lead to unsatisfactory paint results, which is why a thorough primer application is key to achieving a flawless finish.
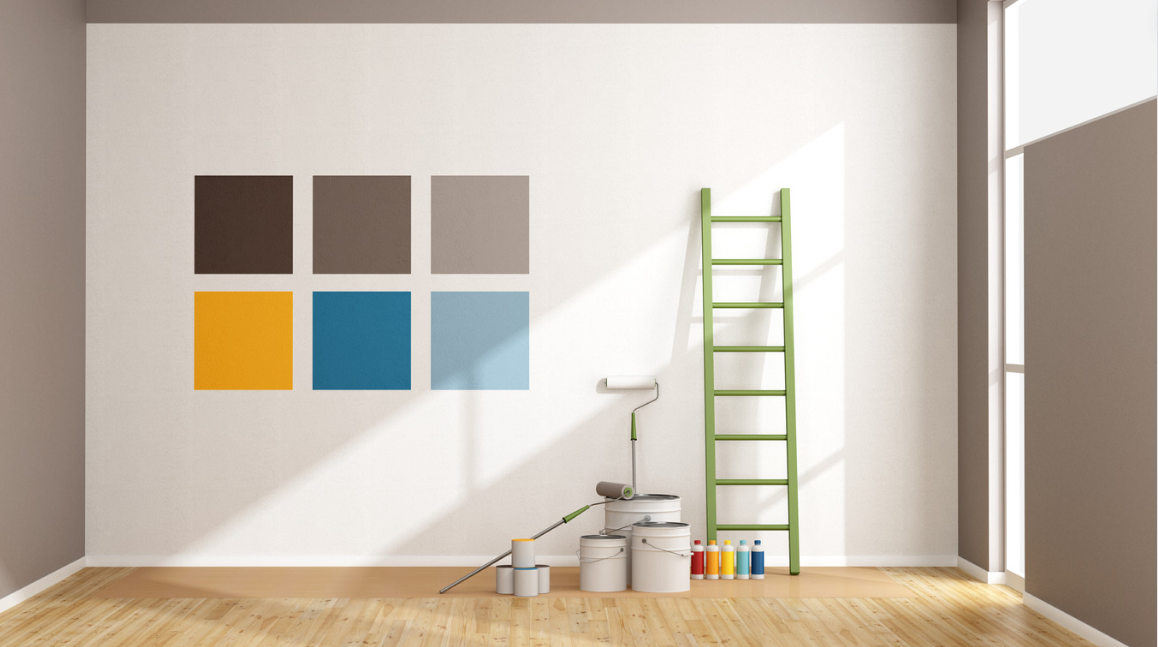
Choosing the Right Primer
One of the most critical decisions you’ll make when preparing to paint is selecting the right primer. Depending on your surface type and the paint color you plan to use, your choice of primer can significantly impact paint adhesion and color accuracy.
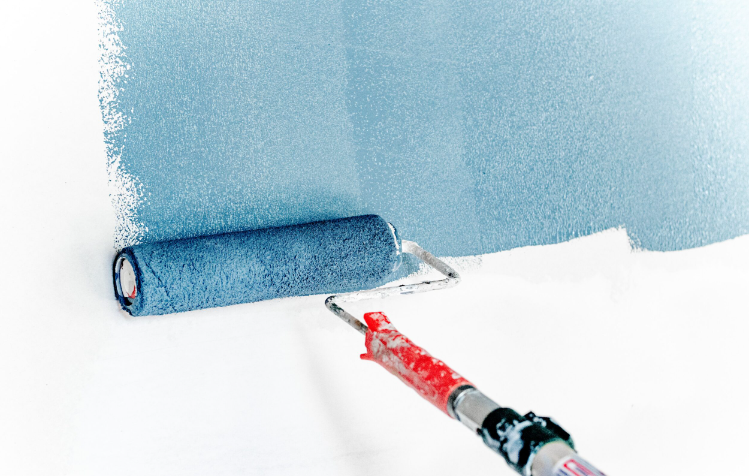
Applying Primer: Techniques and Tips
An effective primer application sets the foundation for your paint job. To ensure an even coat, consider the following techniques:
- Use a high-quality primer suitable for your specific wall material.
- Apply with a roller for broader surfaces and a brush for corners and edges.
- Work in sections to maintain a wet edge and avoid lap marks.
This approach promotes a smooth finish and enhances paint durability.
Plus, you can achieve better results by following these additional steps:
- Mix the primer well before application to ensure an even consistency.
- Apply multiple thin coats rather than a single thick layer.
- Allow the primer to dry fully between coats for optimal bonding.
This will further enhance adhesion and reduce any potential flaws.
Drying Times and Considerations
Tips on drying times are crucial to ensure your primer functions effectively. Always check the manufacturer’s instructions, as drying times can vary based on humidity, temperature, and product type.
For instance, high humidity may require longer drying times, causing delays in your painting project. Regularly monitor your primer’s tackiness to confirm it’s adequately dried before applying paint, ensuring your final layer adheres properly for the best results.
Masking and Protecting Surrounding Areas
Despite the careful preparation you’ve already carried out, masking and protecting surrounding areas are vital steps in achieving a clean, professional-looking paint job. It’s vital to take the time to cover and shield everything that you don’t want to be painted, as this protects your space from accidental splatters and drips.
The Importance of Using Painter’s Tape
If you want sharp, clean lines between different colors or to avoid painting surfaces you intended to leave untouched, painter’s tape is your best friend. This specialized tape adheres firmly to various surfaces yet removes cleanly without damaging the paint underneath, making it a must-have for any painting project.
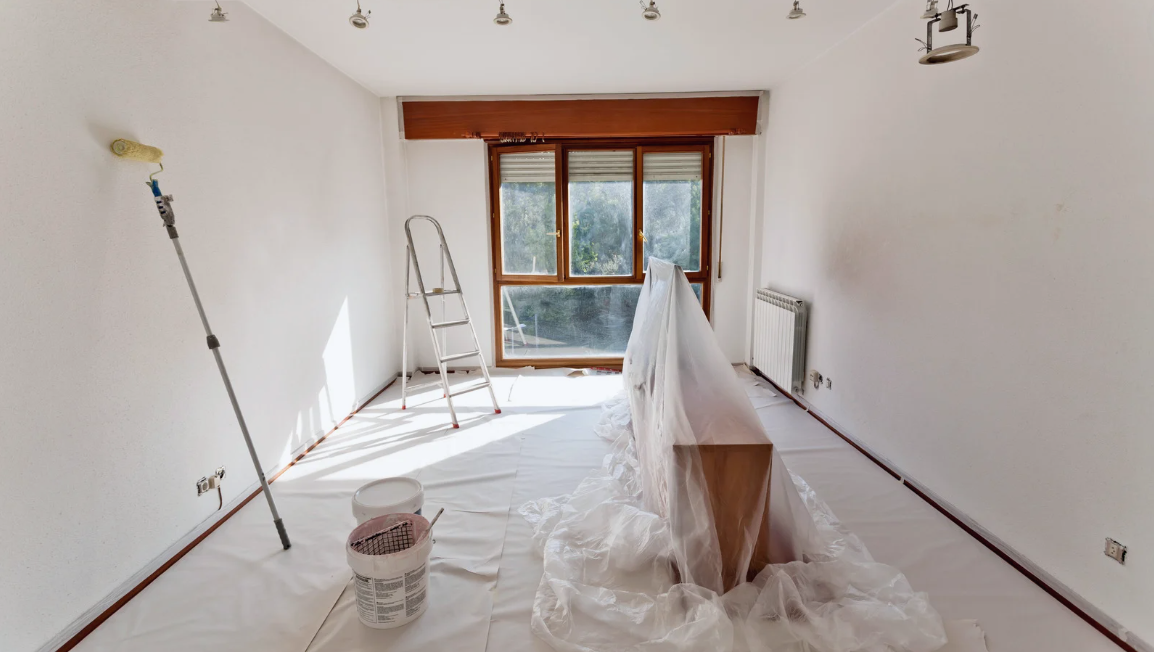
Covering Floors and Furniture
One of the most critical aspects of protecting your workspace is covering floors and furniture. Any paint drips or spills can lead to costly damage and a time-consuming cleanup process, so it’s best to be proactive.
To effectively protect your floors and furniture, use drop cloths made of canvas or plastic to cover large areas. Be sure to secure them in place with tape, especially if you’re using plastic, as it can be slippery. For furniture, thoroughly cover it with a clean cloth or plastic to prevent any accidental paint splatters, enabling you to focus on your painting without concern for damage.
Ensuring Clean Edges and Lines
Some areas where different colors or surfaces meet can be tricky to paint accurately. Clean edges and lines are vital to achieving a professional finish, which is where masking techniques come into play.
Masking is crucial for ensuring that your paint does not bleed into unwelcome spaces. By applying painter’s tape along edges, you create a barrier that keeps each color neatly separated. It’s important to press the tape down firmly to avoid any paint seepage, and to remove it just after painting while the paint is still slightly wet for the best results. This technique contributes to a polished look, enhancing the overall quality of your paint job and showcasing your meticulous preparation efforts.
Final Steps Before Painting
For a seamless painting experience, it’s important to conduct last-minute wall checks to ensure everything is ready. Before you start painting, examine the walls once more for any missed imperfections, dust, or debris. Pay special attention to edges and corners where materials may not have settled properly. This final inspection guarantees you won’t be applying paint over any problem areas that could affect the outcome.
Last-Minute Wall Checks
For added assurance, take a moment to check for any lingering moisture after cleaning. If the walls retain dampness, let them dry thoroughly before proceeding. This prevents issues such as peeling or bubbling paint, which can disrupt your effort for a flawless finish.
Tools for Efficient Painting
Efficient preparation also means having the right tools at your disposal. Gathering quality tools not only speeds up the process but also enhances the accuracy of your paint job. Make sure you have items such as high-quality brushes, rollers, trays, painter’s tape, and drop cloths.
To ensure your painting process is as smooth as possible, invest in tools like an angled brush for precise edges, a roller with an extension pole for reaching high areas, and a paint tray with liners for hassle-free cleanup. These tools will help you apply paint evenly and reach tricky spots without straining yourself. Additionally, don’t forget to have a sturdy ladder on hand for any high walls or ceilings.
Tips for Achieving a Professional Finish
With careful attention to detail, you can achieve a professional finish that enhances your living space. Follow critical tips, such as:
- Use painter’s tape to create clean lines and prevent paint bleed.
- Apply multiple thin coats instead of one thick coat for better adhesion and coverage.
- Maintain a wet edge while painting to avoid lap marks.
After doing this, allow ample drying time between coats to set with the desired look.
Wall conditions are key to achieving a seamless, professional appearance. It is important to ensure your walls are fully prepped and that you consider factors like lighting and surface texture. Keep these in mind:
- Check the temperature; optimal painting occurs between 50°F and 85°F.
- Consider using a paint conditioner for improved flow and finish.
- Inspect your results under different lighting to assess evenness.
After taking these necessary steps, you’ll find that your freshly painted walls not only look stunning but also stand the test of time.
Final Words
Conclusively, properly prepping your walls for painting is vital for achieving a flawless and long-lasting finish. By thoroughly cleaning, inspecting for damage, smoothing imperfections, and applying primer, you set a solid foundation for your paint. Don’t forget to protect your workspace with drop cloths and painter’s tape. By following these steps, you can ensure that your painting project will yield professional-quality results that enhance the beauty of your home.